Computational Quilting with a Diode Laser
Diode lasers are relatively low cost and less complicated than high powered versions. Here we use a 500mw Bachin 4050, which costs about $200 (but requires assembly). It only comes with one pair of goggles, so make sure you buy other pairs, or better yet just shield it in a box when it runs. Ventilation, and restriction to proper materials are also safety precautions, as explained in their guide. Do not let minors operate on their own.
Step 1:
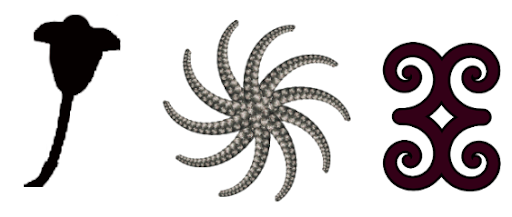
First run your script to create a virtual design. Then export the shapes. Make sure students are not using the built-in shapes that come with the software (better to delete them). Nor should they be importing them from other sources, because too will defeat the purpose of motivating coding skills. After using an iterative scaling sequence like cornrows, or having the “pen” draw a shape like adinkra, you can right-click on the stage to save as “pic”:
Step 2:
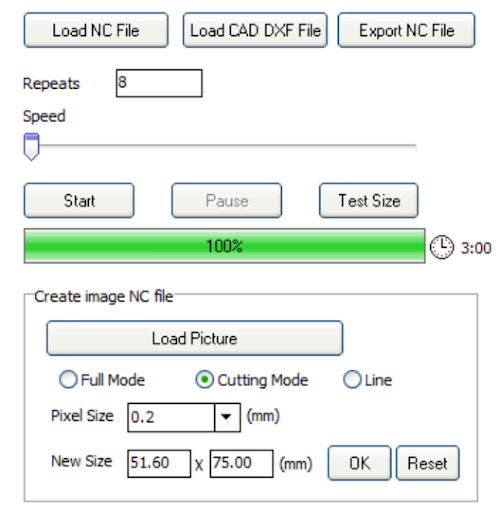
Now you can import the image into the laser software. In our case we will use the software that comes with the Bachin 4050, "engraver master". Click on the second tab, NC Sender. In the top panel. One pass on a speed between the slowest setting and the middle speed setting should do it, but you can select more than one repeats for thicker cloth. In the middle panel, select “cutting mode”. Finally, click on “load picture” in the second panel. It will create an outline for cutting, asking you for “level of detail” (usually better to minimize, for speed). Make sure you click on “test size” to check the alignment (a no-heat light will outline the area). You can scale larger or smaller using the “pixel size” drop down. If test size does not show the area correctly, go to the next page for troubleshooting issues.
A test run with paper never hurts. Either way, the next step is to prep your cloth. You will need to use iron-on adhesive sheets like “heat and bond” as explained here. Peel off the paper backing, and place the shiny glue side down, with the regular cloth side up. Again, click on “test size” to make sure the design is within the cloth.
Step 3:
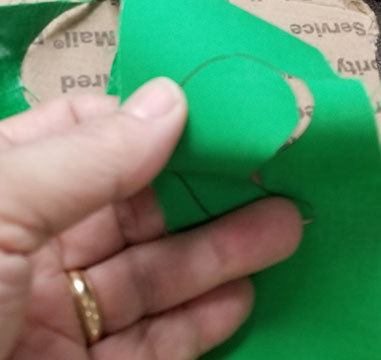
Now make sure you have on goggles or hide the laser from view, and click on “start” in the second panel. Once it has finished, you can gently pull apart the cloth to get your quilt applique shapes and iron them on.
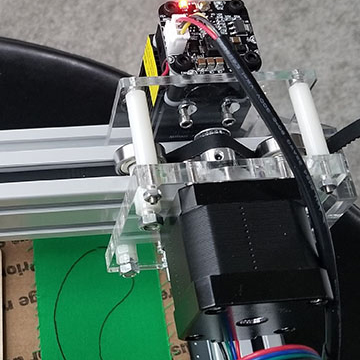
If the test size does not show the area accurately, it is likely that there is a hardware issue. Attempt to find this issue by figuring out which track is “jammed”. If you can not find the exact problem, this is not a problem. Take out the screw that is attached to the “jammed” track(If you cannot find which one is jammed just do them one at a time). Once the screw is removed, pull on the rubber bands to tighten them and ensure that the wheels are able to move on a tight rubber band. Click on “test size” again to confirm that it is able to move in every direction again.
For smaller cuts (up to 3.1 inches), a laser such as the WainLux mini desktop is a better choice. No assembly, built-in eye guard.
For a complete guide on using either laser, click here.