Physical Quilt Rendering
With the right materials, you can easily turn your digital quilt designs made in CSnap into physical cloth quilts. In this section, we will show you how you can construct real-life versions of your patterns and create something you can touch, display, or even wear!
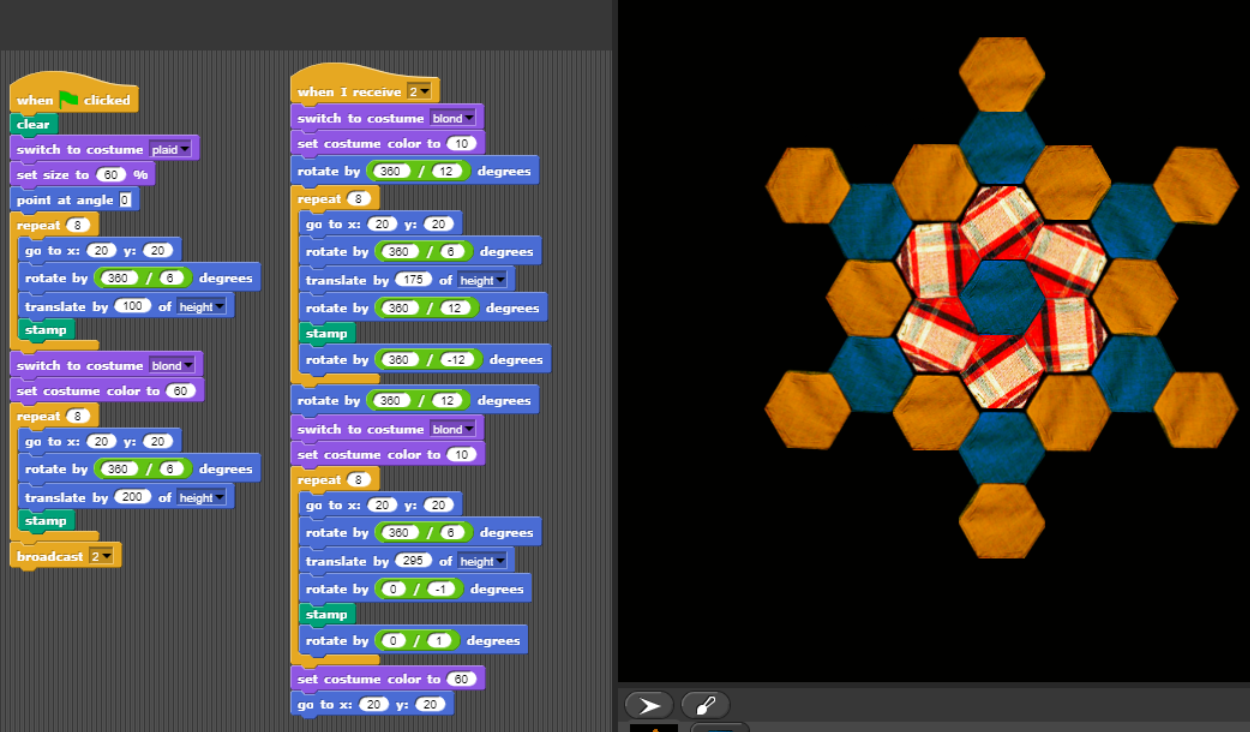
Click here to start your digital quilt simulation
You can follow along to the video below, or continue reading:
Creating Your Quilt
Materials Needed
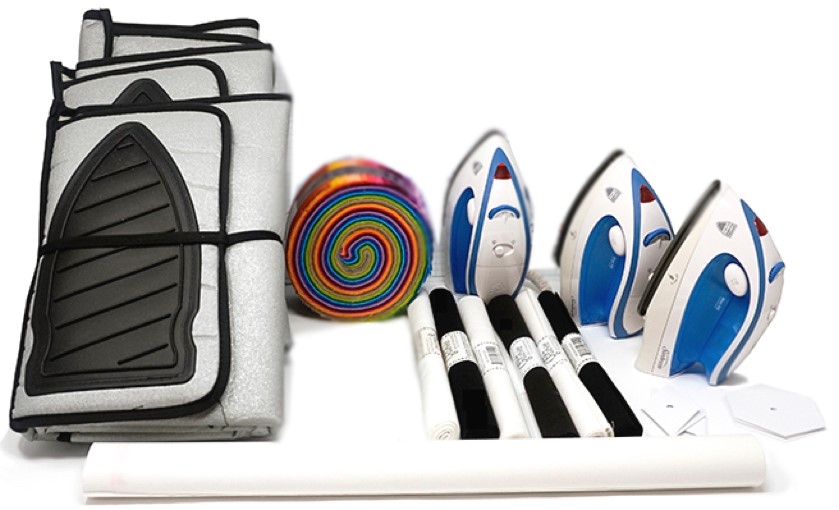
- Irons
- Ironing Mats
- Heat'n'Bond (Iron-On Adhesive Sheets)
- Assorted Colored Fabrics
- Scissors
- Color Printer
- Black or White Cotton Fabric (18" x 21")
- Black or White 100% Cotton T-shirts
OR
Making Your Digital Design
If you have not already chosen and created a design in CSnap, go over to the tutorials page to learn how to construct traditional quilt patterns, or jump into the software to make your own custom versions.
Once you're satisfied with the final product, you can right-click the window containing your design, which will bring up a menu box with an option labelled 'pic'. Click that, and CSnap will download an image of your quilt pattern, which you can print out to use as a reference when you arrange your cloth quilt for ironing.
Preparing the Fabric
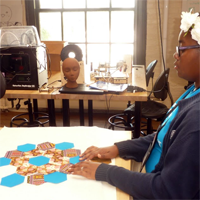
With your design ready, you can pick out the fabric you will need for constructing your quilt. Choose a black or white base layer, which can either be a flat sheet of fabric, or a t-shirt, if desired. Then, referencing your quilt in CSnap, take pieces of multicolored fabric which best fit the colors of your design.
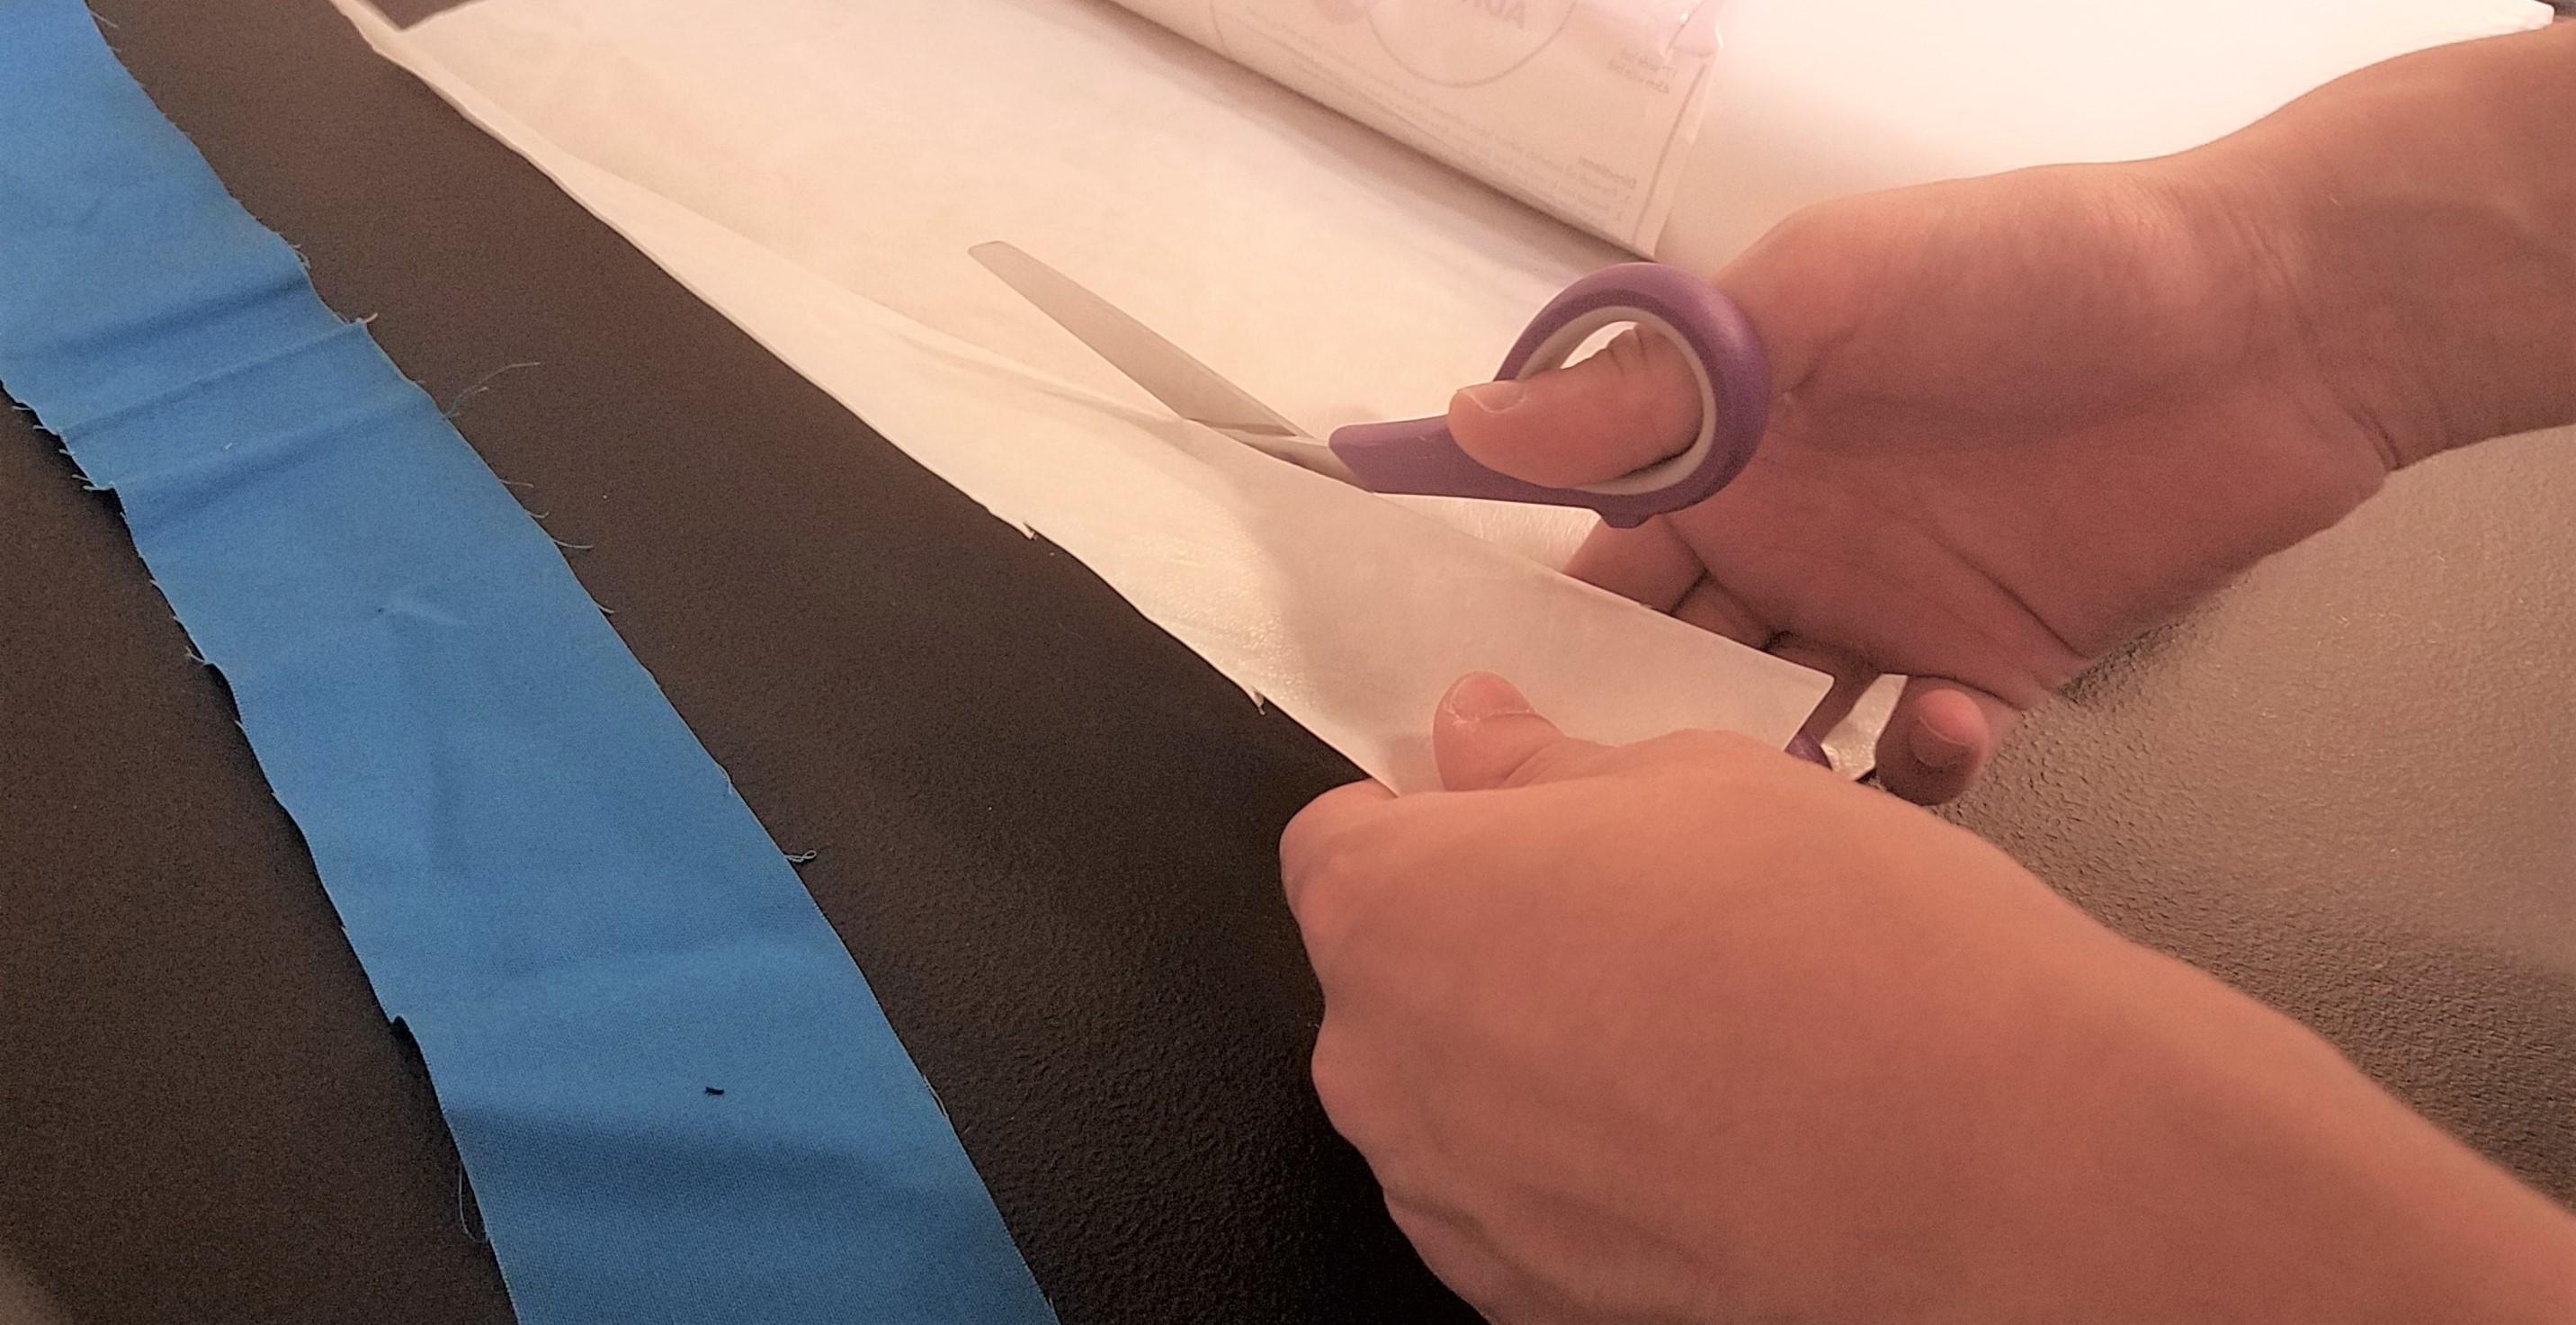
Next, you will have to attach the iron-on adhesive to your colored strips of uncut fabric. The iron-on adhesive we use is two-sided, with one rough textured side, and one smooth glossy side covered by a layer of white paper. Cut out portions of the adhesive about the same size as each strip of colored fabric you have. Leave the adhesive you cut out slightly smaller than each strip of fabric.
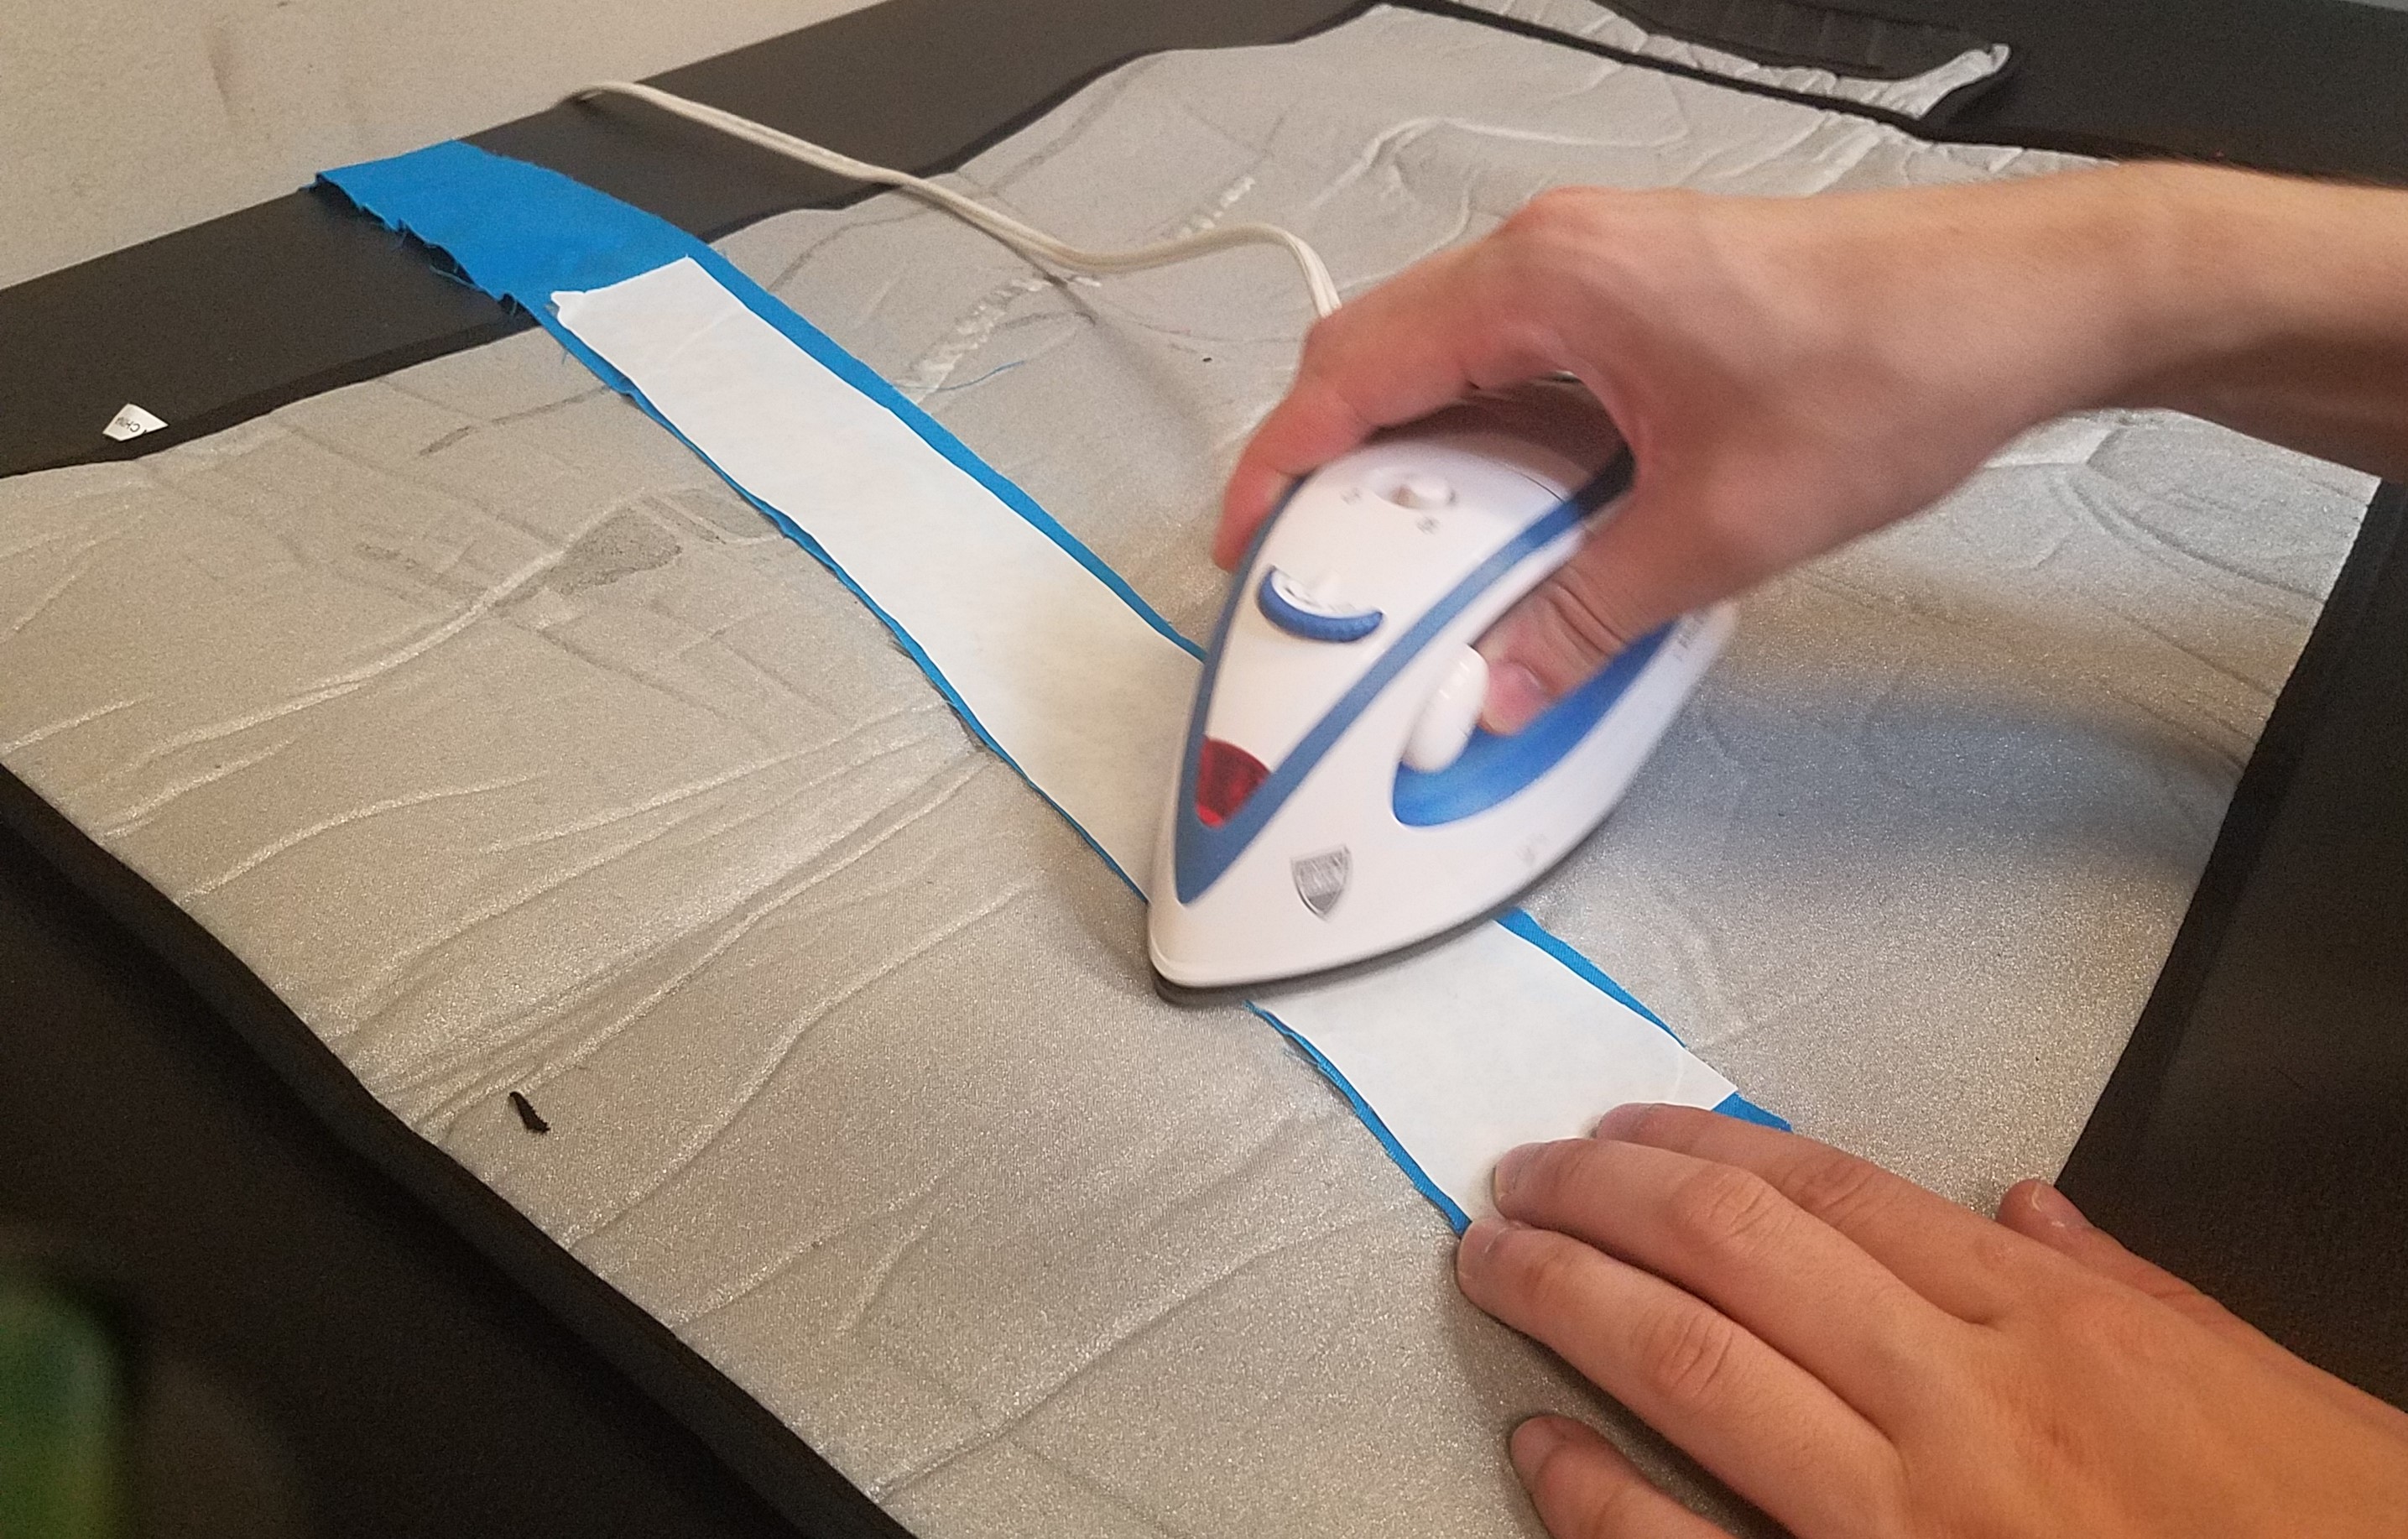
Prepare the ironing mat, and select a high setting on the iron. Iron out any creases in your fabric if you wish. Then, align each of your pieces of colored fabric on the mat with the adhesive you cut out. The white papered side of the adhesive should be face-up, with the textured side face down on top of the colored cloth. Run the iron over the fabric until all of the adhesive has stuck to it. This usually takes less than 20 seconds for a 2.5” strip of fabric, but bigger pieces may take longer.
Cutting Your Pieces
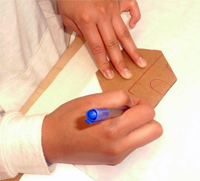
Now that you have a layer of adhesive attached to the fabric your going to use, you can cut the fabric into the shapes you need to create your design. We've provided several stencils for you through the links below. Trace them in cardboard or print them onto card stock to help you cut out your shapes. If you've incorporated custom images in your design, drop those into a document and resize them in order to create similar stencils for your other shapes.
Assembling the Quilt
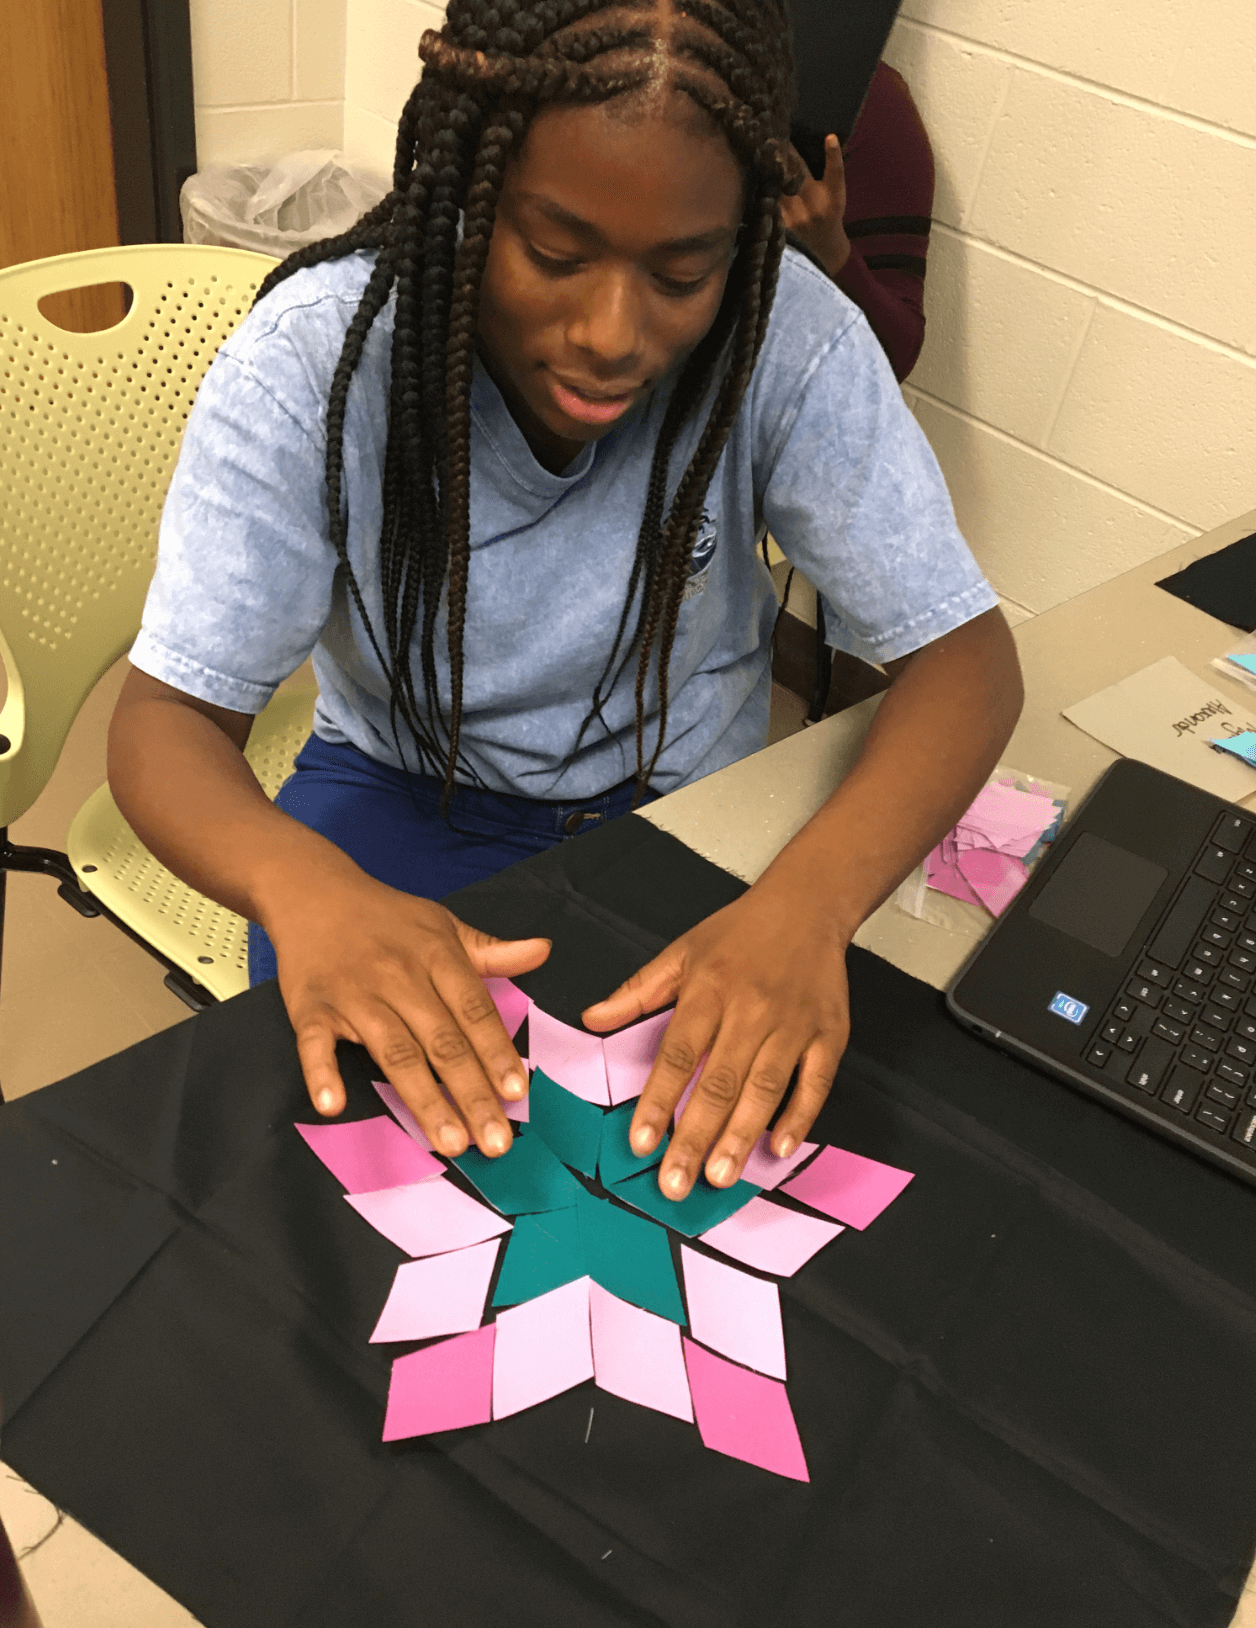
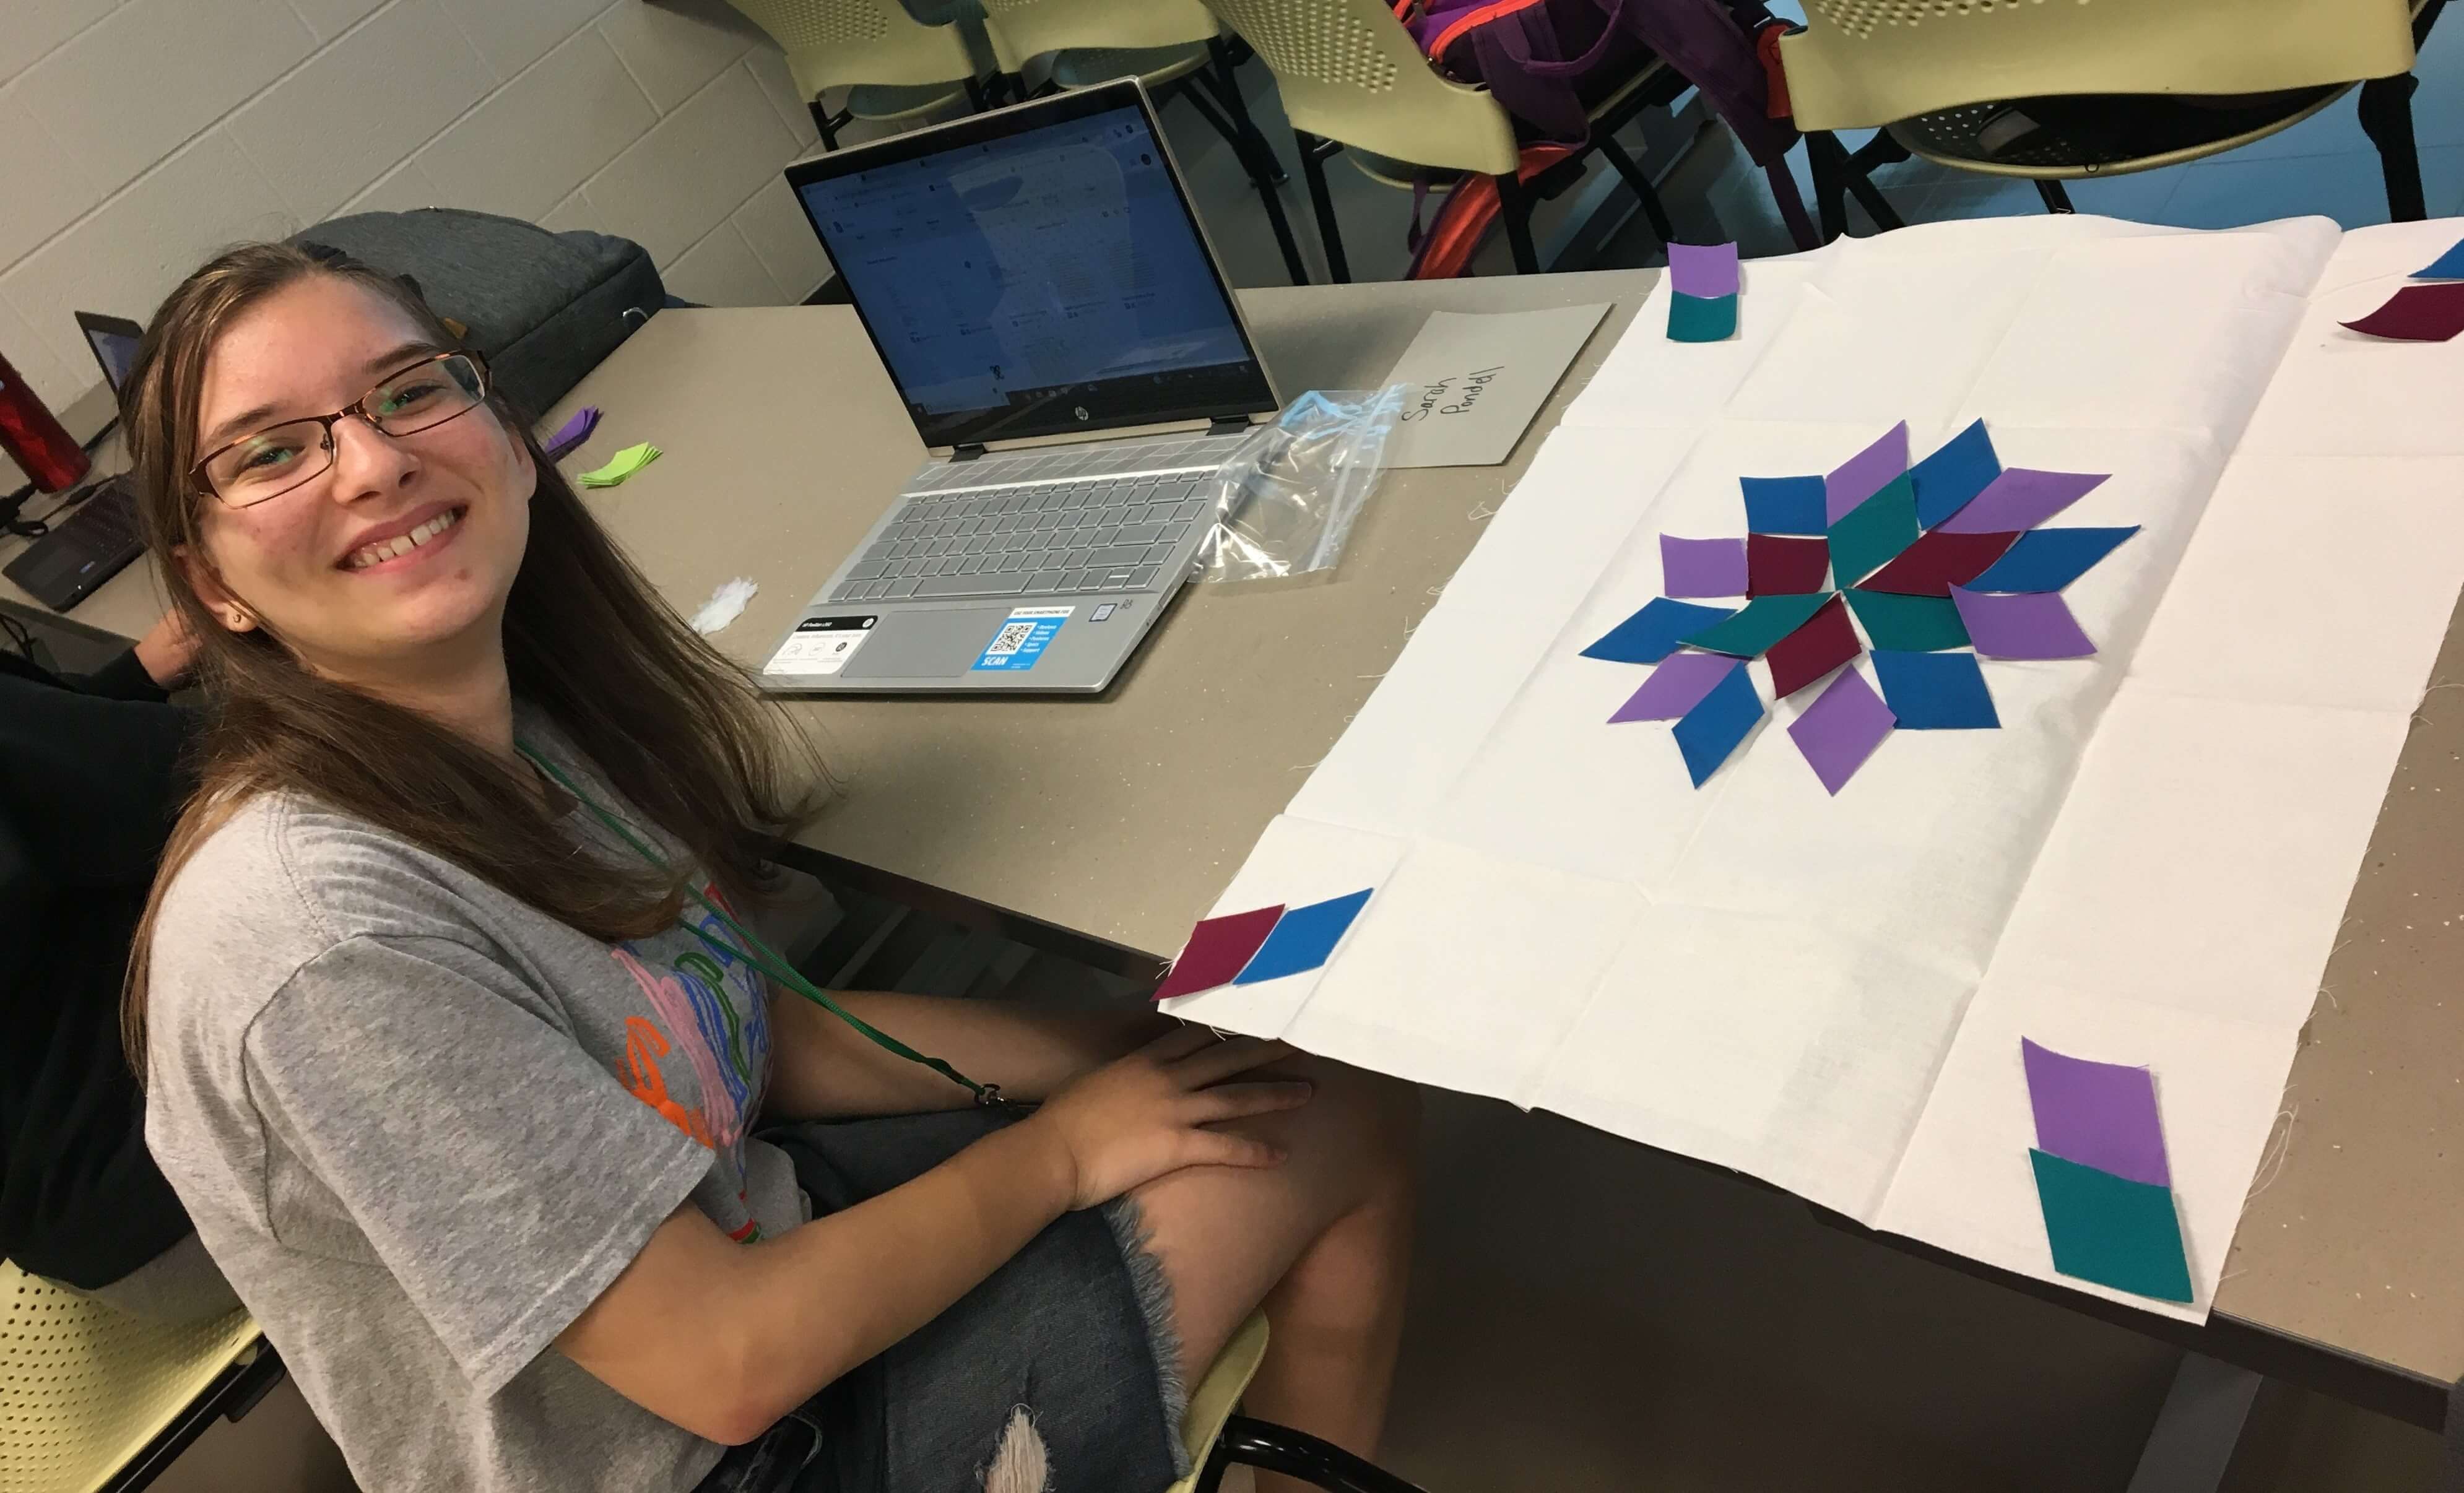
With your pieces made, arrange your design as you made it in CSnap. Before placing your pieces, remove the paper backing of the adhesive to reveal the smooth glossy surface. Put all the pieces of your quilt into place on the base fabric, glossy side down. If you can, take a photo of the design when you've finished arranging it. It's likely that you will want to deconstruct some of your quilt during the ironing process.
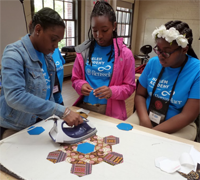
Ironing the Design
Carefully bring your design over to an ironing mat. Use the same settings on the iron as in the previous procedure. It's recommended that you iron on only a few pieces at a time, as the adhesive is permanent and cannot be moved once affixed. Typically it's best to start at the center with only a few pieces on the quilt, then radiate outward.
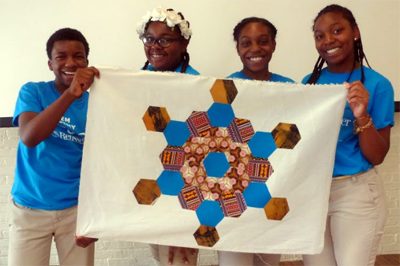
Hold the iron above the pieces you want to affix and press down for about 5 seconds, making sure you press the pieces with a flat section of the iron. Repeat until you have adhered all the pieces, and iron over any loose corners if any are left. You quilt is now complete!
Care Tips
In general, it is not recommended machine washing your quilt. However, you may hand-sew your design in order to strengthen the bond of the fabric pieces to the quilt. Wash in cold water (inside-out if your design is on a t-shirt) and allow to air-dry.