Electronic Quilt using LEDs and Arduino
Initial Design — using the Quilting CSDT
The first step in the quilting design process is to make a digital design using our quilting CSDT (Culturally Situated Design Tool). If you follow this link you will be brought to the quilting webpage where you can begin your project.
Go through each tab on the webpage to educate yourself on the different quilting styles. Then, pick the type of quilt that interests you, and read about the quilting culture. (This tutorial chooses to focus on the Lakota quilts.)
Complete the quilting tutorials and then try some of the quilting challenges until you are comfortable with using the software.

The next step, is to make your own original design. You will use this digital design to create a physical quilt.
TIP: If you are having trouble making your own quilt from scratch, look back at the CSDT tutorial and try to copy some of the coding from there. The codes that you copy from the tutorial can serve as a base or a starting point, and then you can alter some things and/or add some of your own flair into the design. After you complete your CSDT design, you can move on to making a physical version of your quilt.
Physically Recreating your Digital Quilt
After you have completed a quilt design using the CSDT, you can begin making a tangible version of your quilt.
You can easily simplify the quilting process by using iron-on adhesive as an alternative to sewing. Using adhesive can look just as great as a needle and thread.
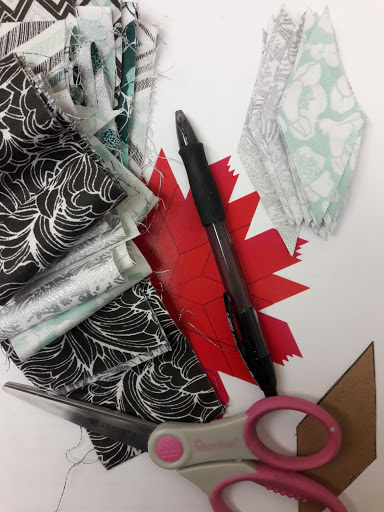
First, you need to gather all of your materials:
- Fabric, preferably different types/colors/patterns. You will need fabric to recreate the quilt and fabric to serve as the base of the quilt. (You can reuse old fabrics to be more eco-friendly.)
- Adhesive. You can use Heat’n Bond Iron-on Adhesive, and will be describing how to use this particular type in the procedure.
- An iron
- A writing/drawing implement
- A pair of scissors
- A template of your quilt shape used in the CSDT
You can easily make a template by completing the following steps:
- Take a screenshot of your design.
- Enlarge it to its desired size.
- Print out the enlarged image.
- Cut out one of the shapes from within your quilt.
- Trace this shape onto a piece of cardboard.
- Cut out the piece of cardboard.
- Voila! You now have a template.
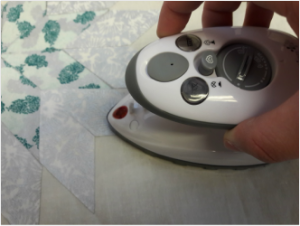
Once you have all of your materials, you can iron on a roll of adhesive to your fabric. Only remove one side of the adhesive during this step!
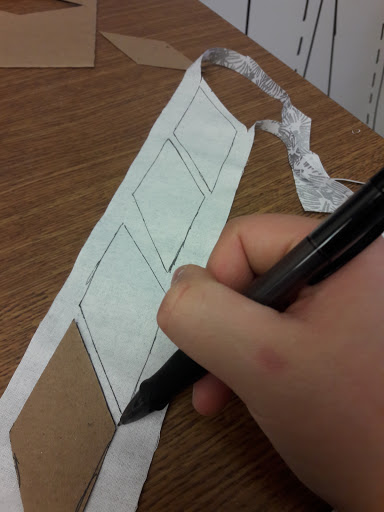
Then, using your writing implement and template, trace the shapes of your quilt onto the fabric. Make sure you count the number of shapes in your digital quilt design so that you will recreate the proper amount.
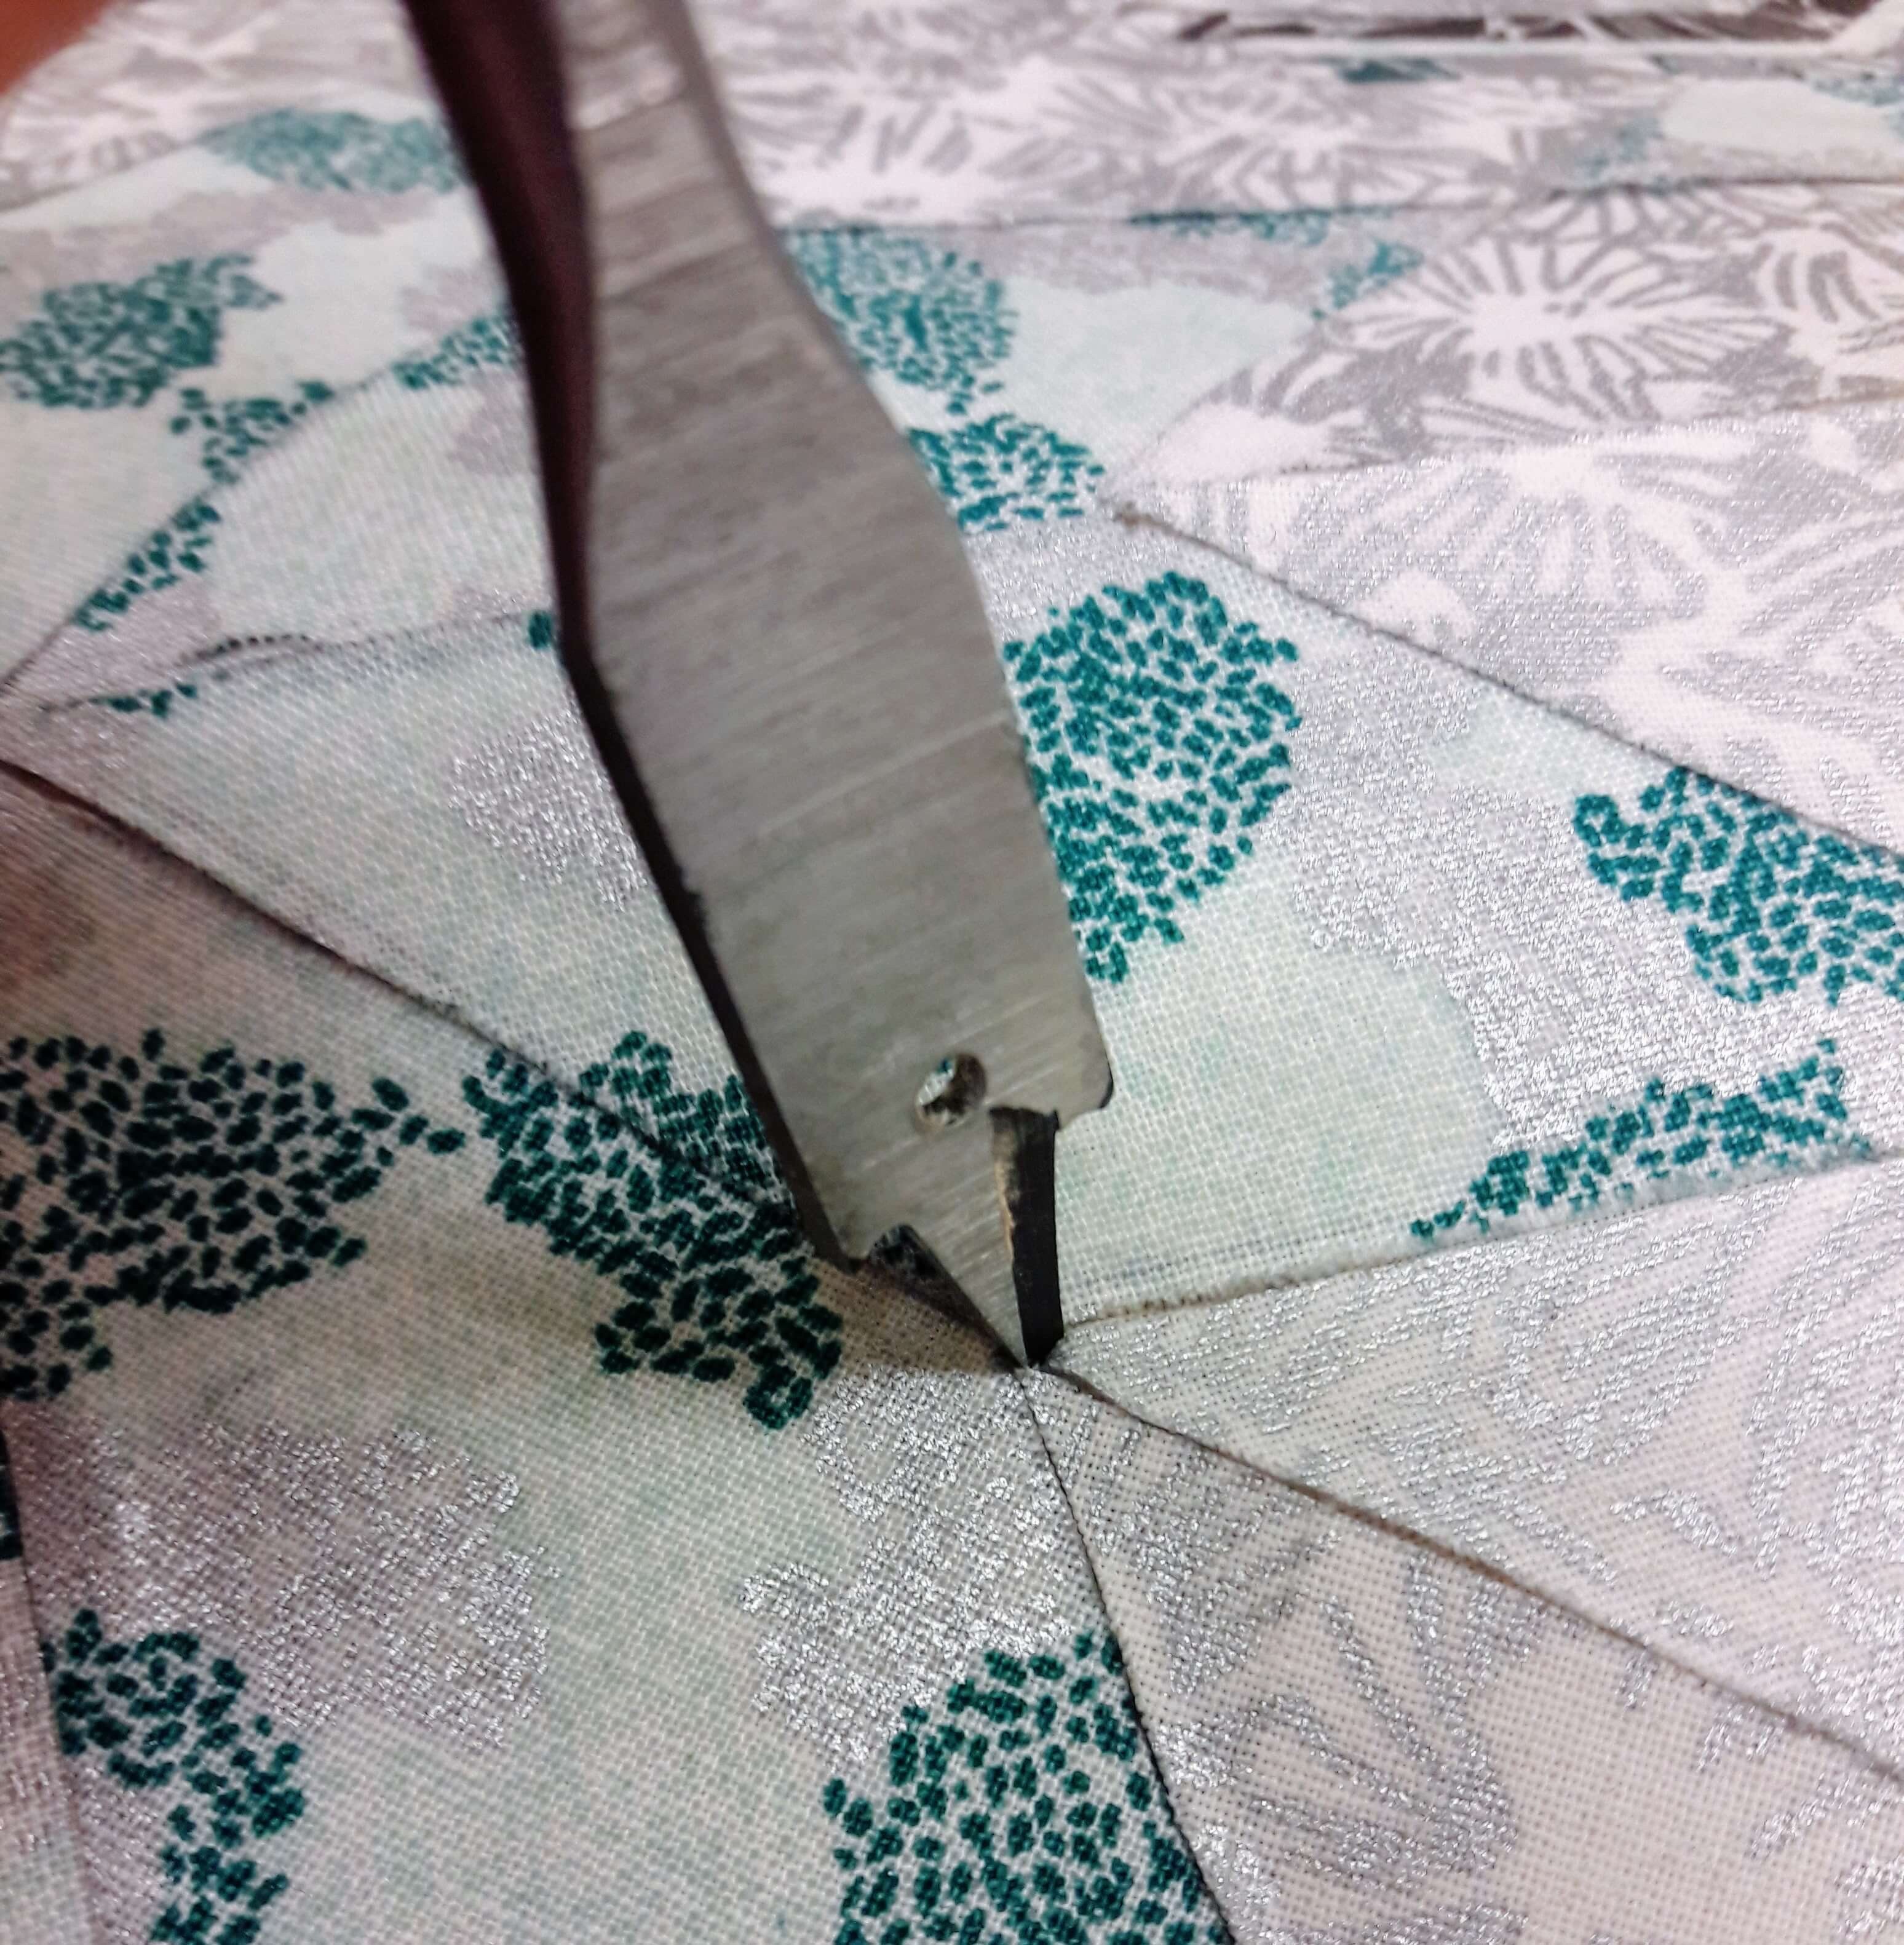
Now, use your scissors to cut out the shapes.
Assemble the cut out fabric onto a cloth base/backing in a way that replicates your digital design & remove the other adhesive covering. (You may like to assemble the fabric before removing the adhesive just to make sure that you don’t accidentally attach a piece of fabric by accident in the next step. If you are thoughtful, you could definitely remove the adhesive covering and then assemble the fabric onto the cloth base without a problem.) Removing the adhesive covering first will speed up the process a little bit.
Finally, iron the fabric onto the cloth base. You should be done with the quilt now.
NOTES:
The fabric you choose does not have to directly match the fabric in your CSDT design, although matching the two will help you start more organized. The fabric used here is VERY different than the one in the original design. However, it is important if you are using different fabric to make sure that each pattern properly correlates to a single color in your original design. (e.g. have the silver fabric replace all of the red shapes and blue fabric replace all of the pink shapes)
If you are using a different type of adhesive than the ones mentioned earlier, you may consider using the template to trace and cut out shapes from your fabric BEFORE attaching the fabric to the adhesive.
Once you finish creating your quilt, you can then start to think about how to integrate technology into your quilt.
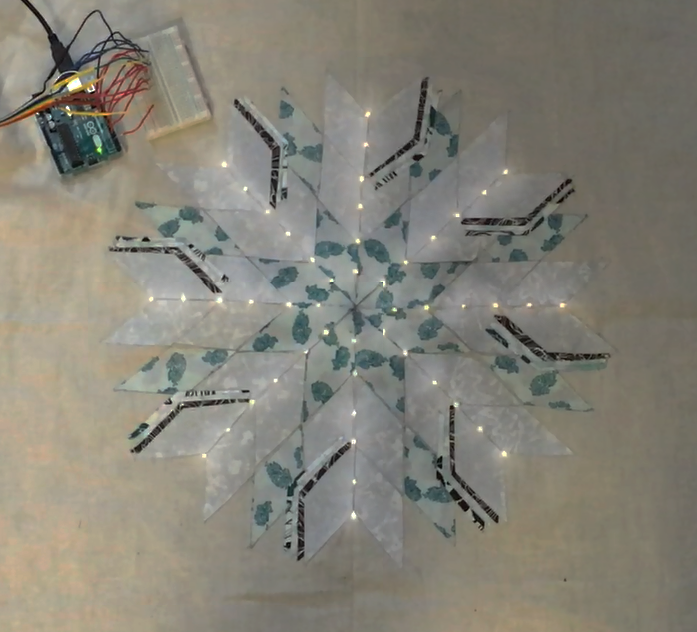
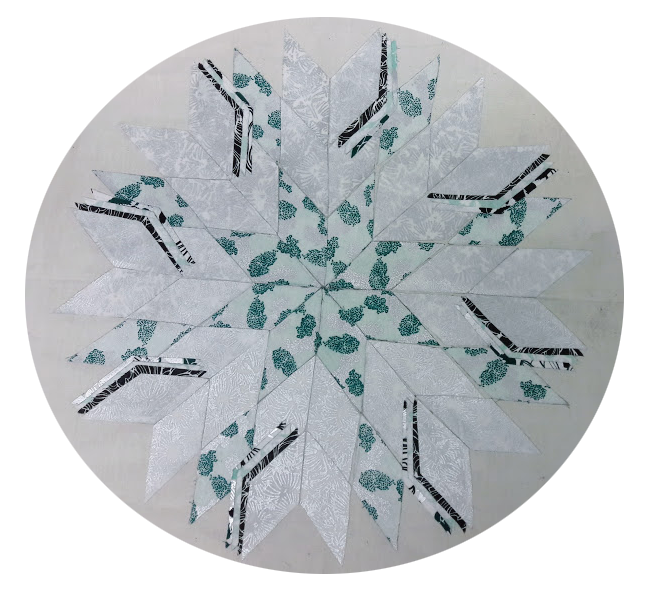
Here is what the physical quilt looks like. (The cloth base is rectangular, but the picture is cropped into a circle.)
Reflection: Digital to Physical
Designing this quilt through the CSDT helps you to think about art in a computational way. While quilts are typically three dimensional, we thought about our design in two dimensions for our original design. We translated our thoughts of where the fabric should be placed into coordinates and degrees. We also translated colors into numbers, and although we did not choose to use the original colors in our final design, the numbers allowed for exactness and consistency within the quilt.
Once we finished our CSDT design and started making the physical prototype, you think a lot about degrees of rotation. We tried to make the pieces of fabric fit together seamlessly, and understanding how many degrees the corners of the fabric pieces were made this effort easier. While degrees and rotation were a large focus in our final prototype, we also considered the coordinates of the design by centering the quilt (0.00,0.00) as best as we could. We then moved out from the center in rings, which is similar to the CSDT process. Thinking about the quilt in terms of rings made the assembly process much easier.
By thinking about the design in a computational way, greater symmetry was achieved and the quilting process became more procedural and understandable.
Brainstorming Quilt Technology & Interaction
The quilt electronics can be just about anything. It could change color with temperature, react to sound or movement, trigger music from hidden speakers, and so on. In this example we decided to have LED lights that change with time.
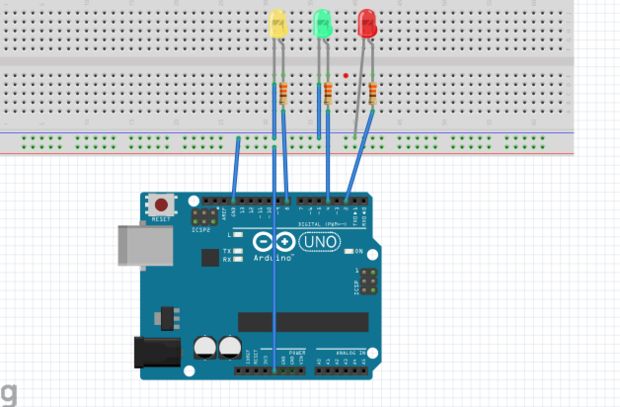
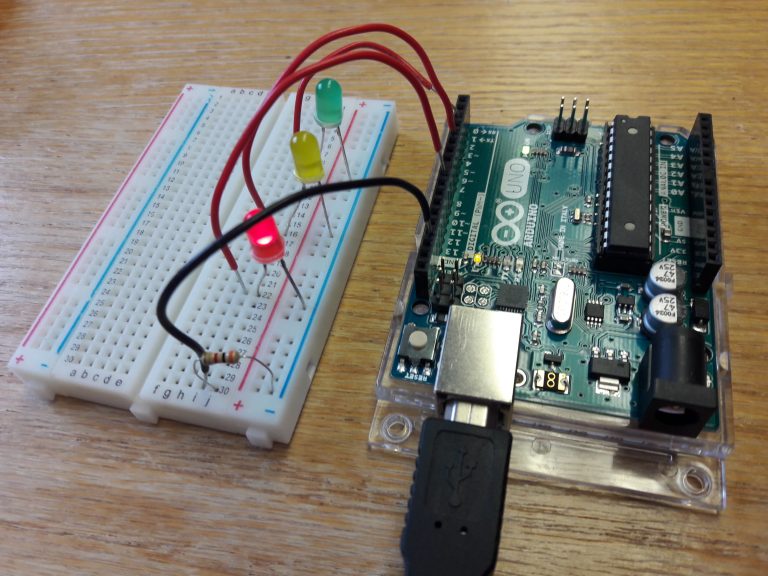
Sequential LEDs with the Arduino
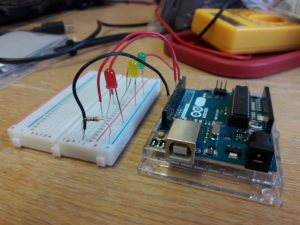
Program the arduino to light up three LEDs in a sequence.
Click here for more detailed information.
Parts Needed:
- Arduino Uno
- Arduino Software (Can be downloaded for free from Arduino)
- Breadboard
- Three LED's (any color)
- Three 330 ohm resistors
- Wires as needed
//Declare the type, name, and pin number of what we use
int redLed = 2;
int greenLed = 4;
int yellowLed = 8;
// 2, 4, 8 represent the digital pins used; you can use different pins
// every arduino program comprises of two methods; void setup and void loop
void setup() {
// Declare digital pins as either inputs or outputs
// For this project, we are setting all the pins as outputs
pinMode (redLed, OUTPUT);
pinMode (greenLed, OUTPUT);
pinMode (yellowLed, OUTPUT);
}
// The content of this method will run forever in a loop, until the board is turned off
void loop() {
digitalWrite (redLed, HIGH); // setting the redLed High; pin 2 is High
delay (500); // wait 0.5s then execute the following line
digitalWrite (redLed, LOW); // set the redLed Low; pin 2 is low
digitalWrite (greenLed, HIGH);
delay (500);
digitalWrite (greenLed, LOW);
digitalWrite (yellowLed, HIGH);
delay (500);
digitalWrite (yellowLed, LOW);
}
After getting that to work, start thinking about how one could incorporate this into the quilt design. You may decide to insert // line up LEDs radiating out from the center of the star quilt.
Attaching LEDs to the Quilt
After determining what light pattern you want the quilt to create, put it into action!
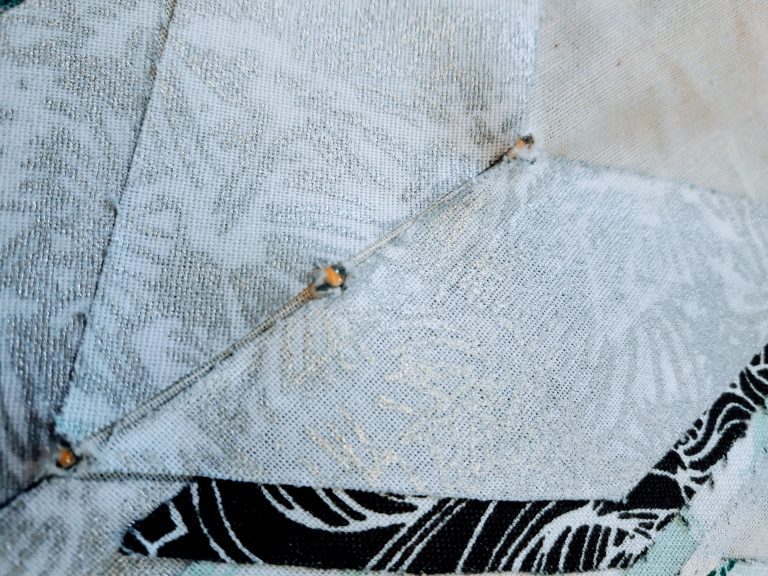
First, punch holes into the quilt to make space for the LEDs. If you decided that you want 8 strings of 6 lights, on each seam of the quilt hammer in 6 different holes, equally spaced apart.
After making all of the appropriate openings, you need to glue in the LEDs. You can do this with a hot glue gun. When one glues in the lights, make sure that each light bulb aligns with the holes that have been made. To make sure the lights match up with the openings in the quilt, you have to twist around the wires a little bit. *If you are going to do this, make sure that the LED wires you use already have the insulation removed from both ends.*
Connecting the Negative LED Wires Together
After gluing in all of the lights, test each LED string to ensure that they light up before proceeding.
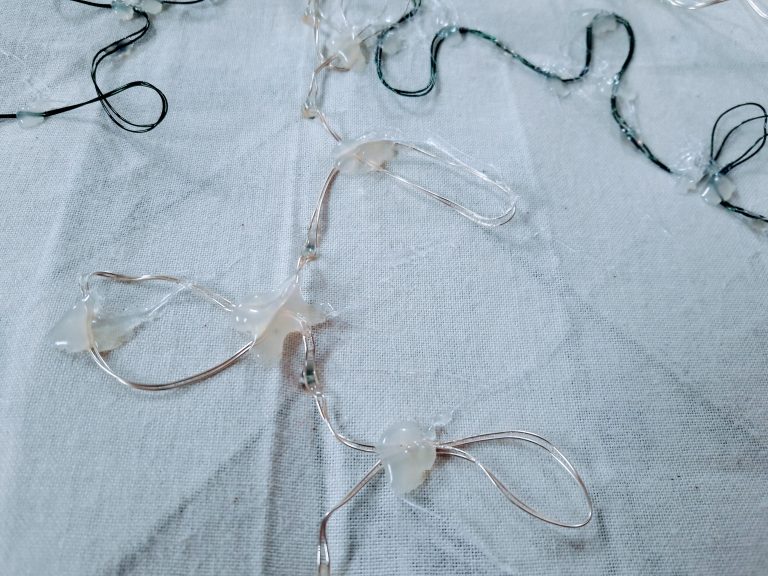
My next step was to connect all of the negative wires together into a single ground wire.
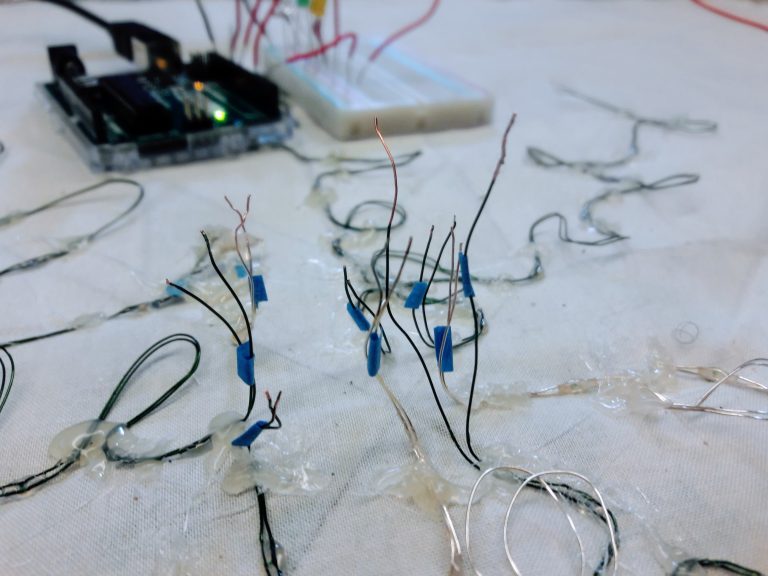
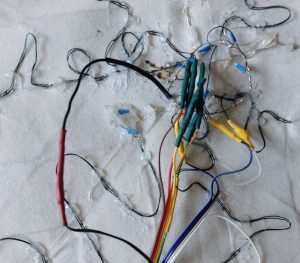
This is a view of the center of the backside of the quilt. Mark all of the negative wires with a piece of blue tape to help stay organized.
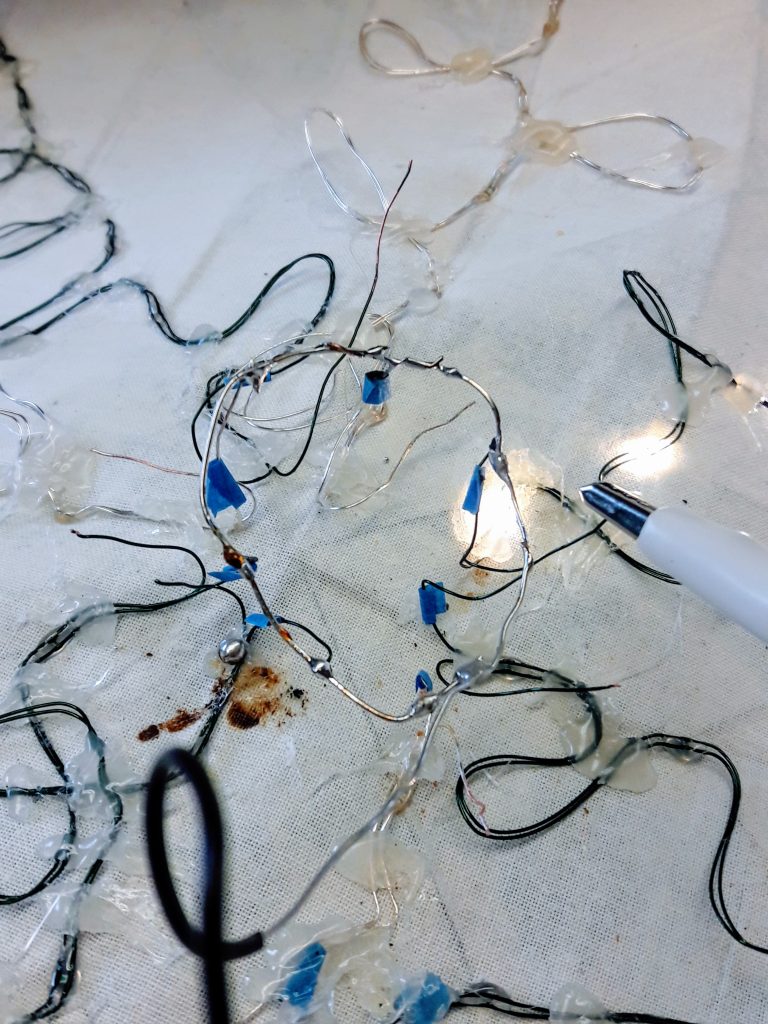
Here you can see the silver wire loop attached to the negative LED wires. In this picture, we are testing out the electrical connections once more to make sure that it does a satisfactory job soldering.
Then use your hands to very carefully pressed down the new wire loop.
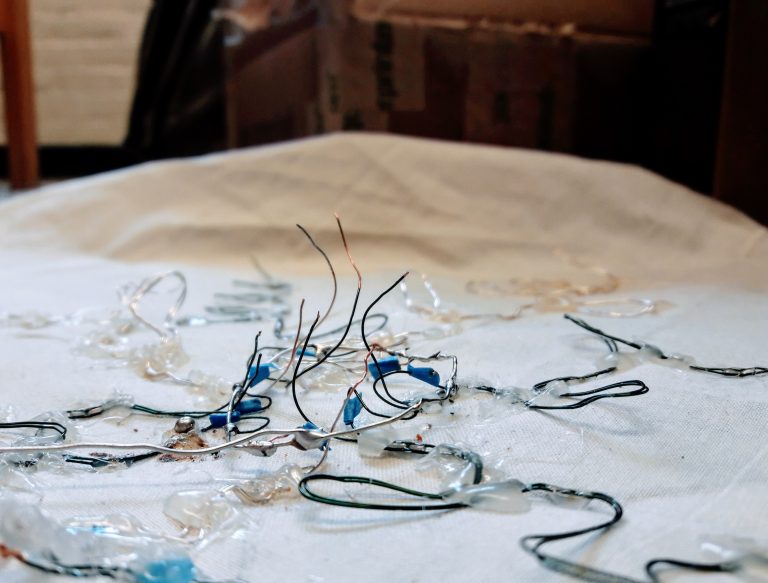
All of the wires that are upright are the positive wires. If you look closely you can see the silver wire loop which is attached to all of the negative wires.
Connecting all of the Quilt's Wires to a Single Ribbon Wire
The next step in my project is to connect all of the wires from the quilt to a ribbon wire.
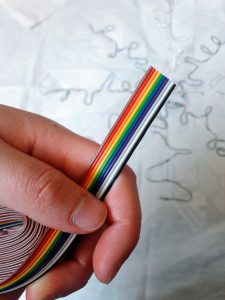
This is the ribbon wire. Use about 1/3 of the wire from the package that we bought.
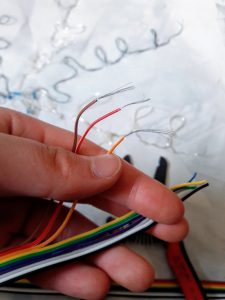
Use wire strippers to remove the insulation from the ends of the individual wires from the ribbon wire.
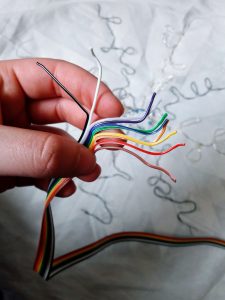
Separate each of the individual strands of the ribbon wire.
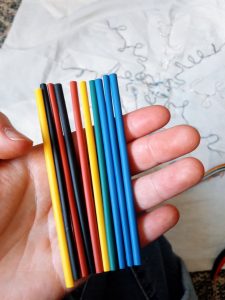
This is what heat shrink tubing looks like.
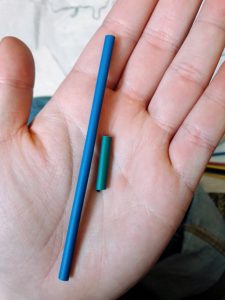
Cut the heat shrink tubing into smaller sizes. Use the small pieces as insulation.
Slide a piece of heat shrink tubing onto each of the stripped wires from the ribbon wire.
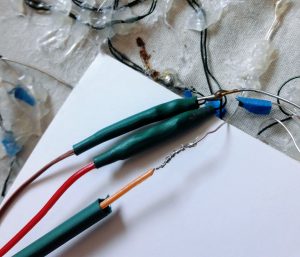
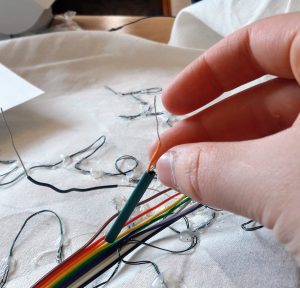
Connect individual wires from the ribbon wire to the positive wires from the quilt. Solder each of these connections.
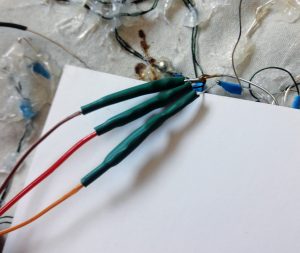
After soldering, cover the connection with the heat shrink tubing. Then use the soldering iron to “shrink” the tubing and keep it in place.
After connecting all of the positive wires to the ribbon wire. Connect the single ground wire (the black and red wire towards the left of the picture) to the ribbon wire using the same method. This is what it looks like once everything is connected.
Click here to download the arduino code for the LED quilt
/*
    light chaser
    Turns on an LED on for the duration of the timer. The timer changes with each loop.
    This example code is in the public domain.
    modified 5/15/2017
    by Ron Eglash
   */
int redLed = 2;
int greenLed = 4;
int purpleLed = 6;
int orangeLed = 7;
int yellowLed = 8;
int whiteLed = 10;
int greyLed = 12;
int pinkLed = 13;
int timer = 100;
void setup() {
pinMode (redLed, OUTPUT);
pinMode (greenLed, OUTPUT);
pinMode (purpleLed, OUTPUT);
pinMode (orangeLed, OUTPUT);
pinMode (yellowLed, OUTPUT);
pinMode (whiteLed, OUTPUT);
pinMode (greyLed, OUTPUT);
pinMode (pinkLed, OUTPUT);
}
void loop ()
{
digitalWrite (redLed, HIGH);
delay (timer);
digitalWrite (redLed, LOW);
digitalWrite (greenLed, HIGH);
delay (timer);
digitalWrite (greenLed, LOW);
digitalWrite (purpleLed, HIGH);
delay (timer);
digitalWrite (purpleLed, LOW);
digitalWrite (orangeLed, HIGH);
delay (timer);
digitalWrite (orangeLed, LOW);
digitalWrite (yellowLed, HIGH);
delay (timer);
digitalWrite (yellowLed, LOW);
digitalWrite (whiteLed, HIGH);
delay (timer);
digitalWrite (whiteLed, LOW);
digitalWrite (greyLed, HIGH);
delay (timer);
digitalWrite (greyLed, LOW);
digitalWrite (pinkLed, HIGH);
delay (timer);
digitalWrite (pinkLed, LOW);
timer = timer - 5;
if (timer < 0) {
timer = 100;
}
}