Making Adinkra Stamps with a 3D Printer
Create your design
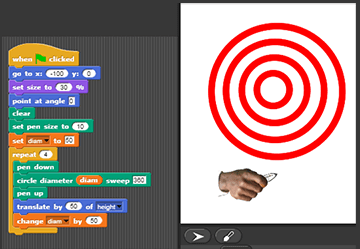
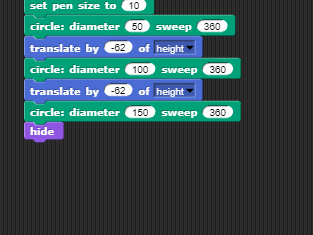
Create a symbol such as Adinkrahene. Make sure to save your design to the cloud!
Prepping for 3D printing
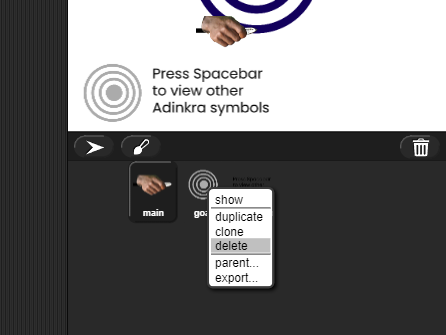
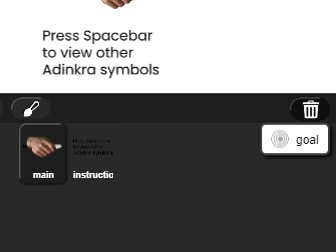
Save before doing this!. You can hide the carver's hand using your script before you save using the 'Hide Block'. You can also do the same to the goal / instruction sprites or you can just delete them. If you accidentally delete your script, you can retrieve it from the trash. Finally, make sure that your contrast is high enough. Use dark pen colors to ensure the best results.
Converting to STL
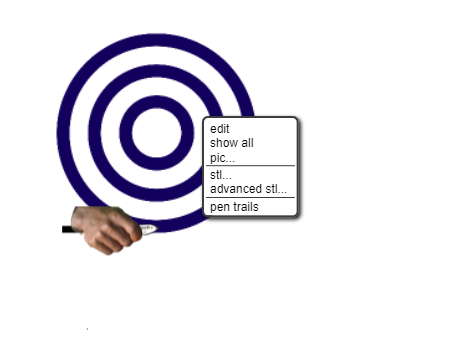
Once you have made your modifications, right click the stage. You will then see two options: STL and Advanced STL. Both will convert your design into a STL, which is a filetype that 3D printers can understand. The second option will allow you to specify a variety of different attributes for your STL. Once you select your option, it will then convert and download your file. Note that this can take a minute or two, so please be patient.

Printing your STL
Now that you have your design in a printable format, you can now import it into your 3D printer's software. Not sure what software to use? A great open source option to use would be Cura by Ultimaker. For additional information on how to print your design, check out this PDF.
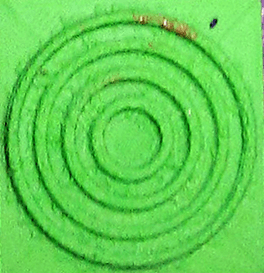
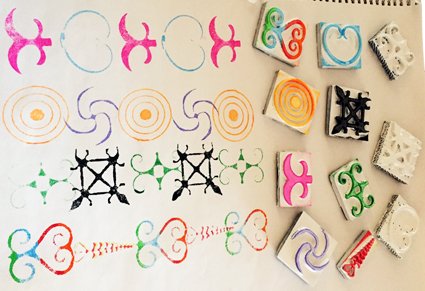
Using your 3D printed stamp
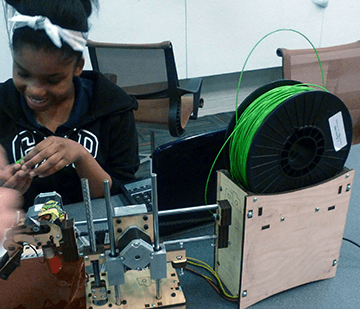
Once you have printed out your stamp, you can then put a handle on your stamp, ink it and apply it to shirts, hats or other cloth, as shown below.